Right now, at least for this type of shooting I was doing, I was going more for subtle editing. However, I’m new to both photography and editing. I’ve set my Rebel T7 to shoot both high-def JPG and RAW because some pictures I’ve taken I haven’t wanted to touch up a lot for one reason or another.
I’m dipping back into editing, and was hoping for some input into shooting tips and editing the photos.
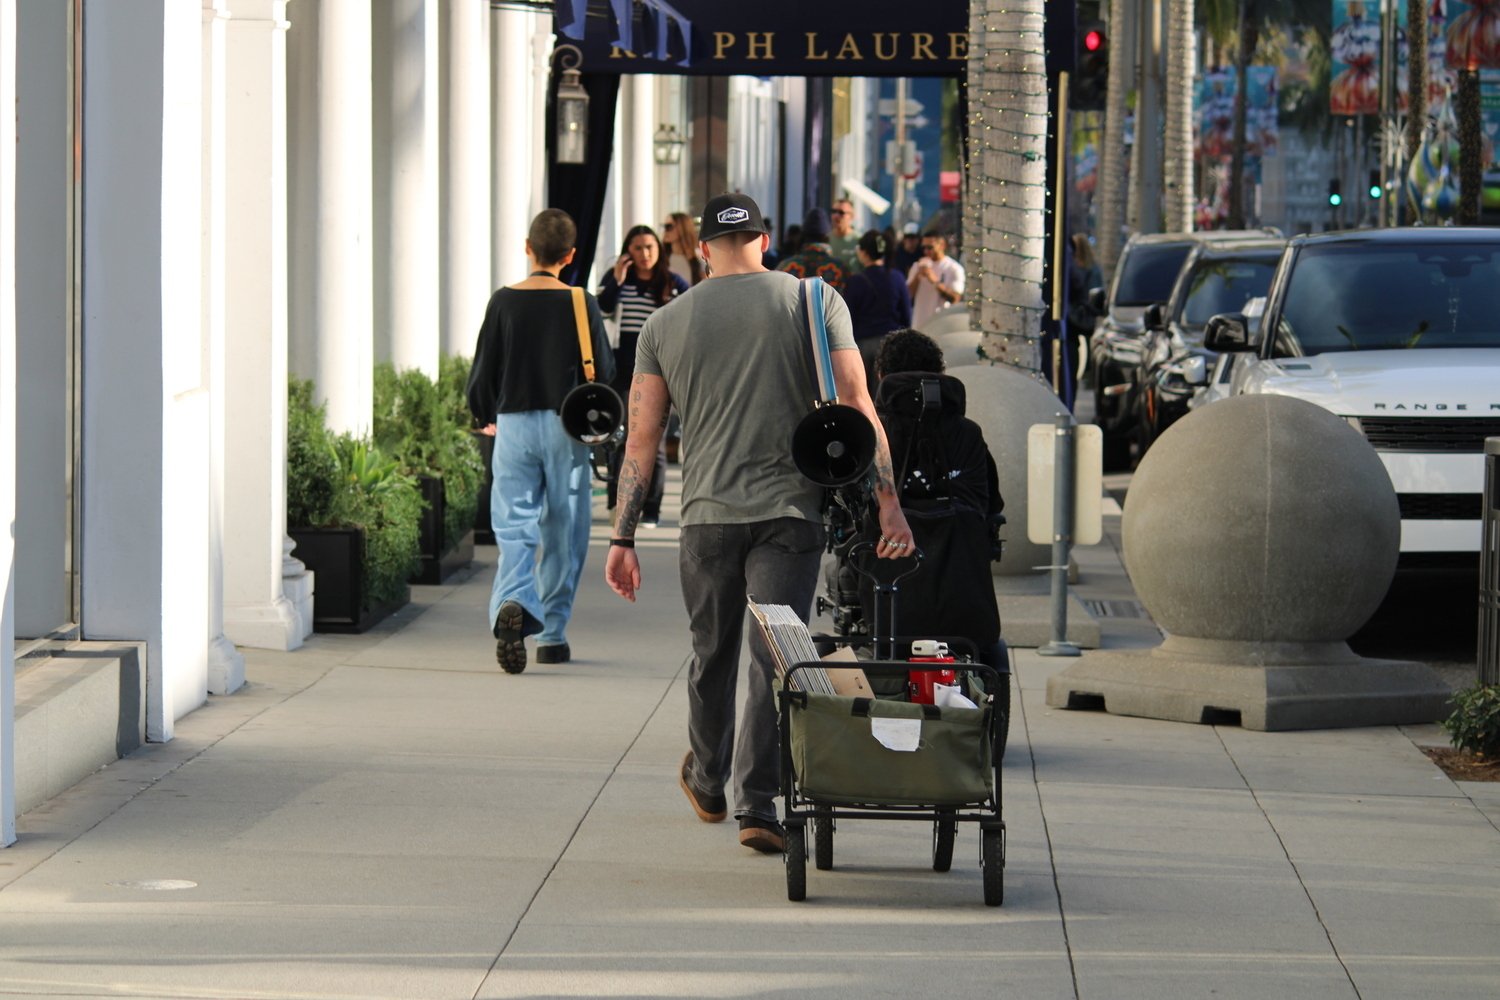
 This is the JPG the camera generated.
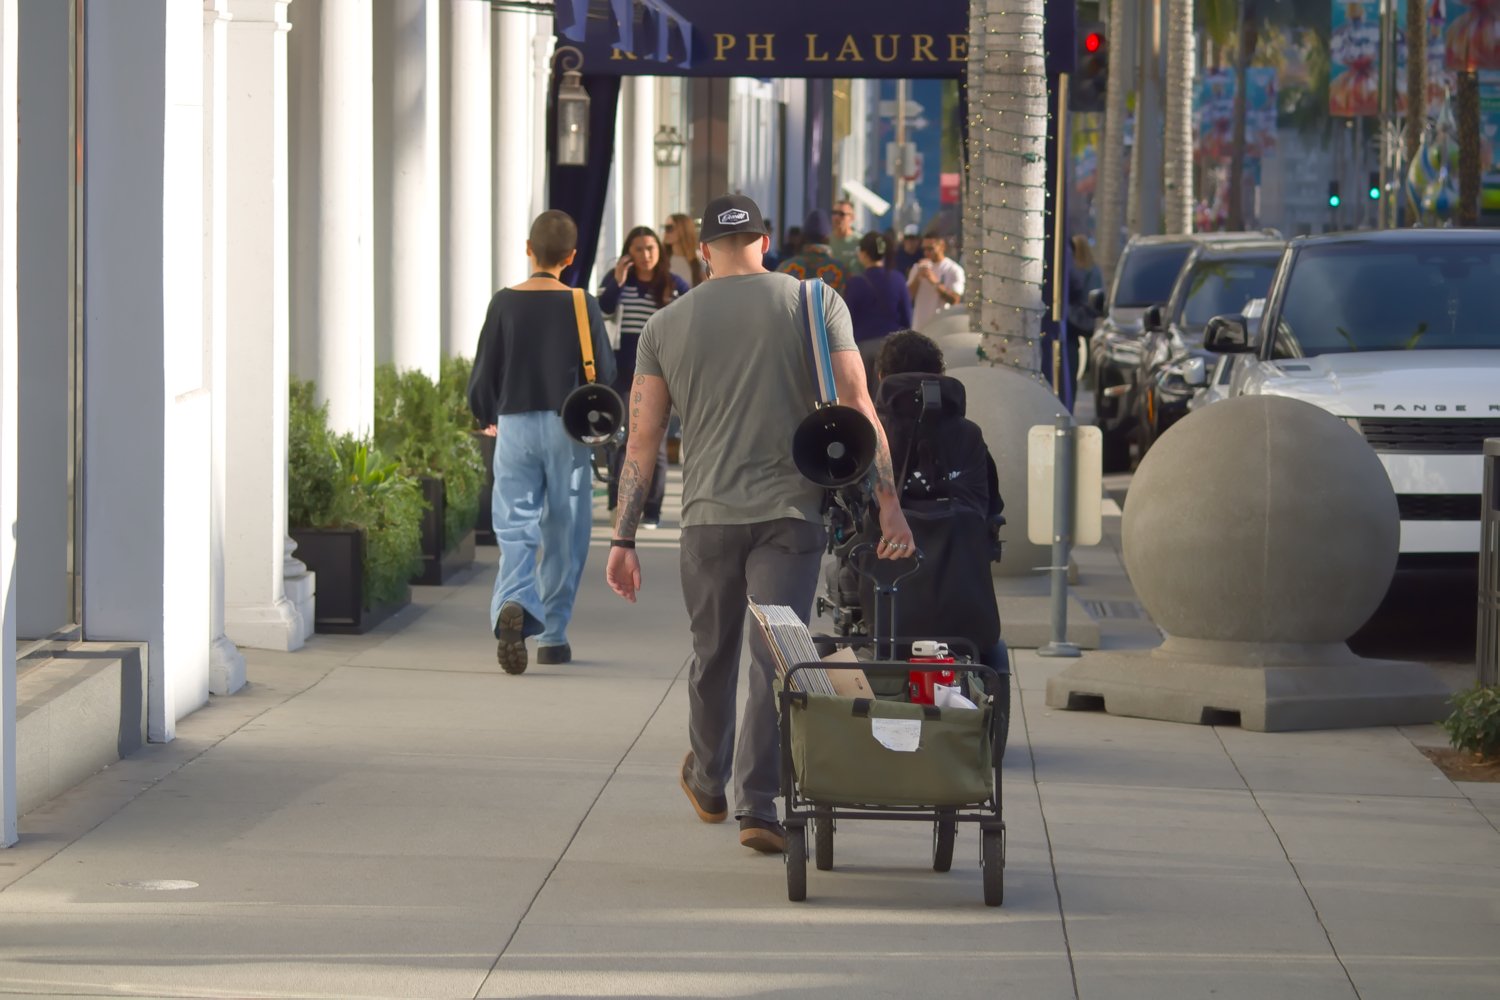
 This was my first RAW edit. Untouched white balance with increased saturation, vibrancy, and a little noise reduction.
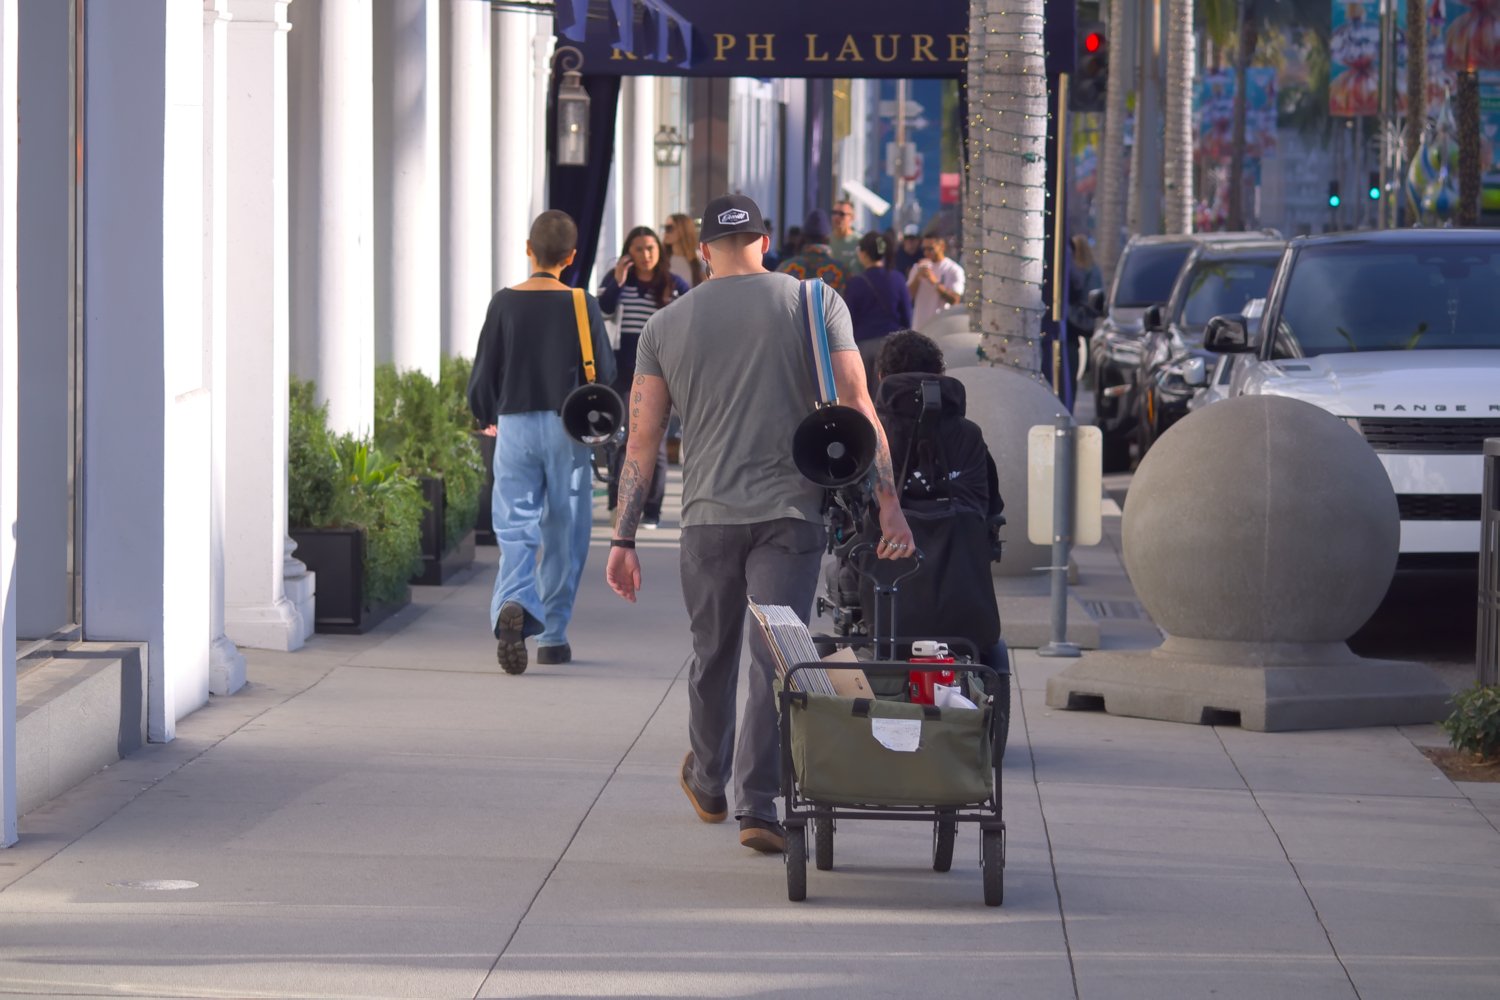
 This is the next RAW edit where I allowed an auto adjustment of the white balance (The lighting was 2pm in Beverly Hills, if that adds context) and actually used less noise reduction.
Thank you in advance. I know these pictures aren’t very good, but I know I gotta keep working at it if I ever wanna get any better.

The 2nd version (your first RAW) edit seems the most natural to me.
It has a slight green cast. Thought that may be accurate with trees overhead out of frame.
Most people will probably prefer the original JPEG, because it’s got lower black levels, and more color saturation. But it’s just a little over done for my taste. Somewhere between that and your first edit would be the sweet spot I think.
The auto WB just looks wrong. I think it’s overcompensating for the green cast, now it’s too pink.
At these scaled down resolutions, we can’t see the difference in noise reduction.
But at bright daylight ISO levels I doubt you need any. Maybe just a little color noise reduction if you’d like.
This has given me a lot to think about. Thank you! I felt the saturation I had used had been a bit much, but I was aligning the scheme somrwhat with a previous photo that contained a sign in the shot where the JPG managed to capture a vibrant red I was trying to re-create in my edit. I’d completely forgotten I’d had a small amount of success with color corrections once before, and I bet that would work wonders so I don’t have to amp up the saturation so much.
Edit: Yeah, sorry about the image scaling. I’d done it on the original JPG when I was sending it out to someone, so I just made the others scaled down to match.